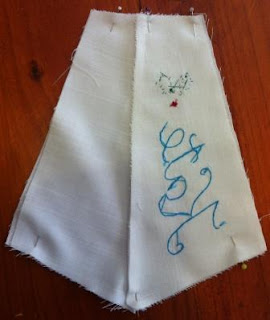
As mentioned before I made a design error and this it:
The cuff, which was 4 separate pieces, would have been much better if I had made it from 2 bigger pieces with only one side seam.
As it was where those 4 seams joined up at the main point was pretty tight on for space once you turned it out, leaving quite a noticeable lump.
This is after trimming inside corners and pressing (a wooden clapper would have come in handy here):
And in case it wasn't obvious :
Once that had been dealt with it was just a matter of pinning it the hanging loop (ric rac )...

...and making sure I pinned the cuff on the right way so that it faced the right way once turned right side out...
Pinned up and ready to sew with the very un-glam calico lining on show:
The seam where the cuff joined the stocking would be hidden once everything was turned right side out and the cuff folded over, so I just zig zagged it after a final trim. If it was something I was going to sell or use more than once a year I would probably neaten it with some co-ordinating binding.
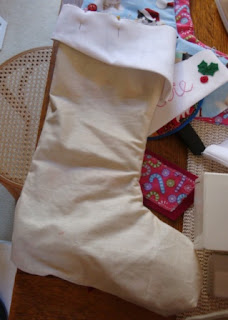
And there you go, stockings sewn:
Happy sewing :)


2 comments:
I doubt your family noticed!
My christmas pin up fabric just arrived today (all the way from America) and I'm thinking an angled cuff would look great, so I may steal- referenced, of course :D
Feel free to use it - a friend helped me decide on that style as I did have something more complicated planned (a zig zaggy cuff and a scalloped one) but realistically was running out of time! Would love to see yours when finished :)
Post a Comment